
Mendesain Ruang.
Mengubah Hidup.
Membantu Anda merancang hunian dan ruang usaha melalui proses desain yang jelas, terukur, dan siap dibangun.
Hai, saya Aditya Yuwana, arsitek yang membantu Anda merancang hunian dan ruang usaha melalui proses desain yang jelas dan terukur. Fokus saya adalah membantu Anda memahami kebutuhan ruang, merancang secara efisien, dan memastikan desain siap untuk dibangun.
/ Portofolio
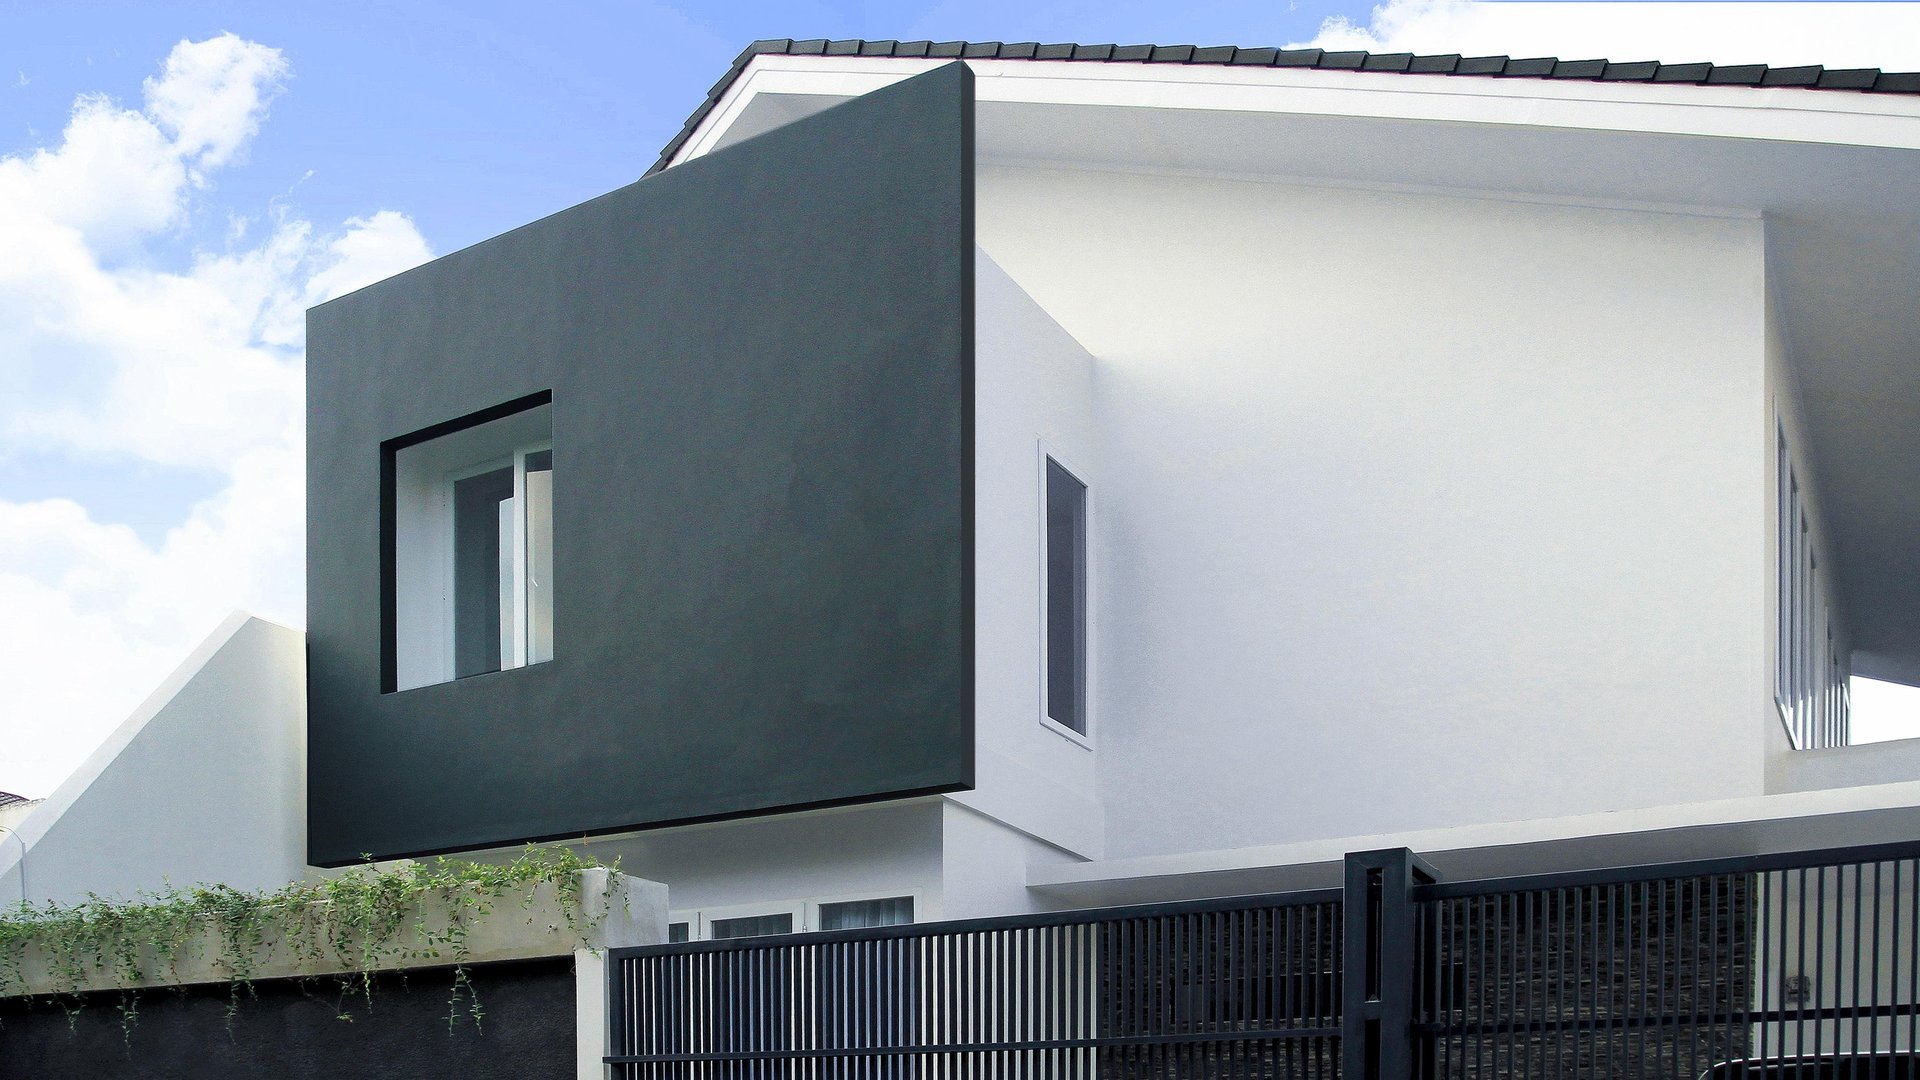
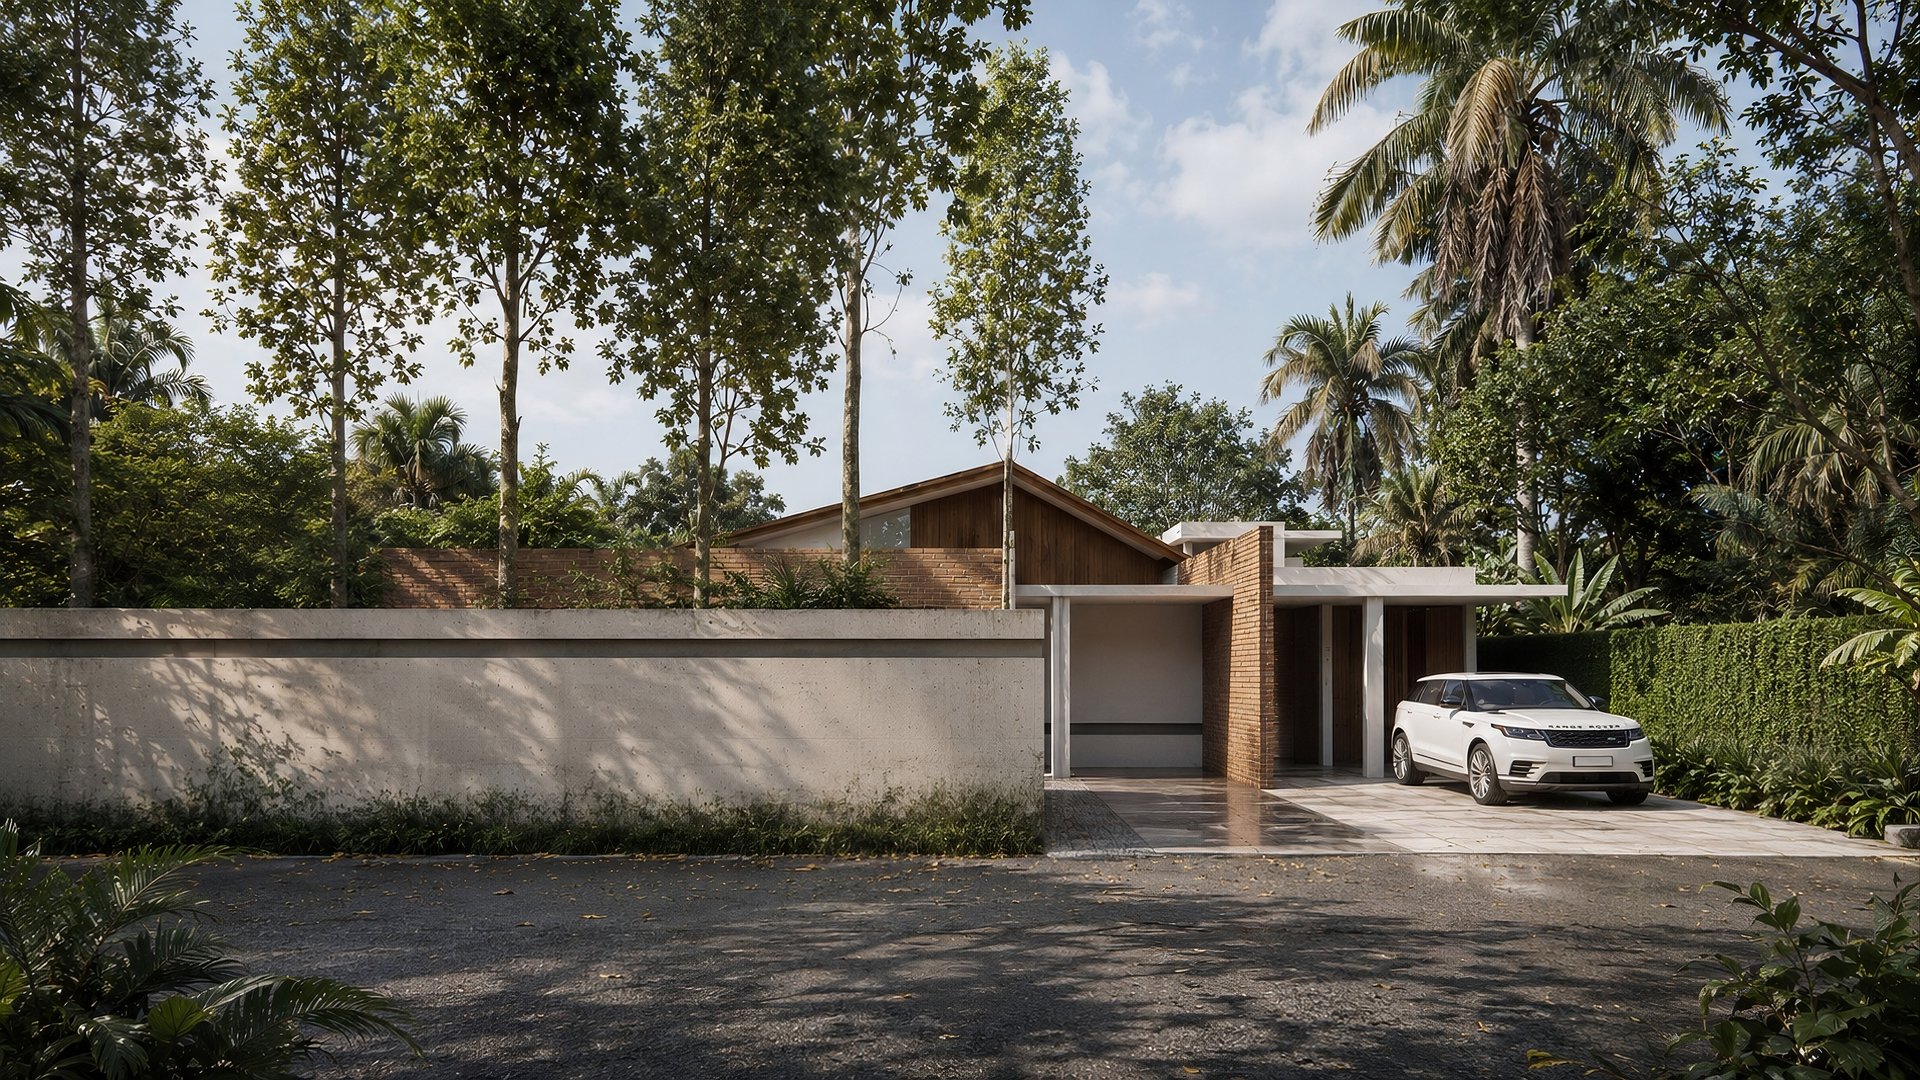
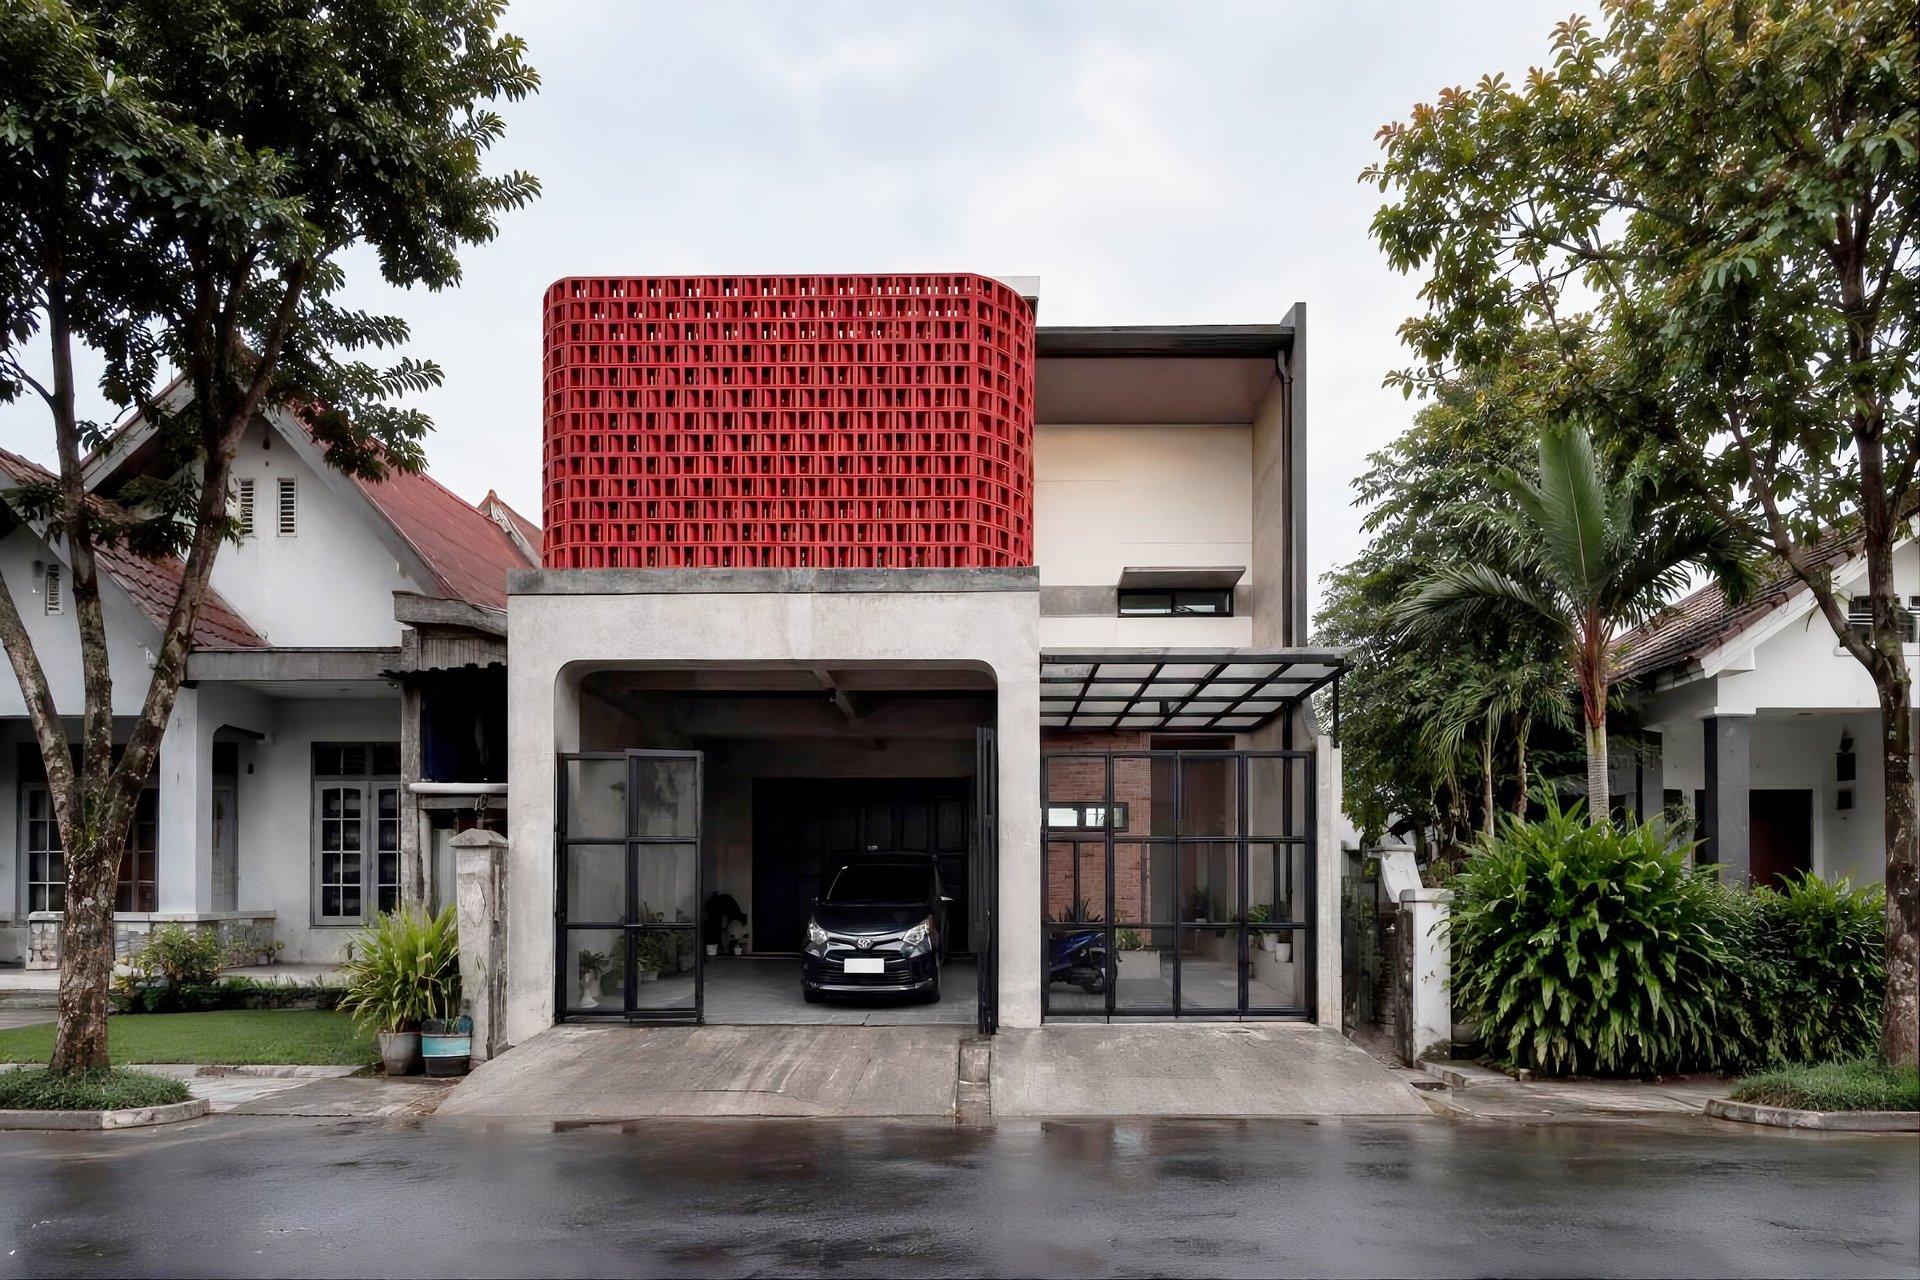
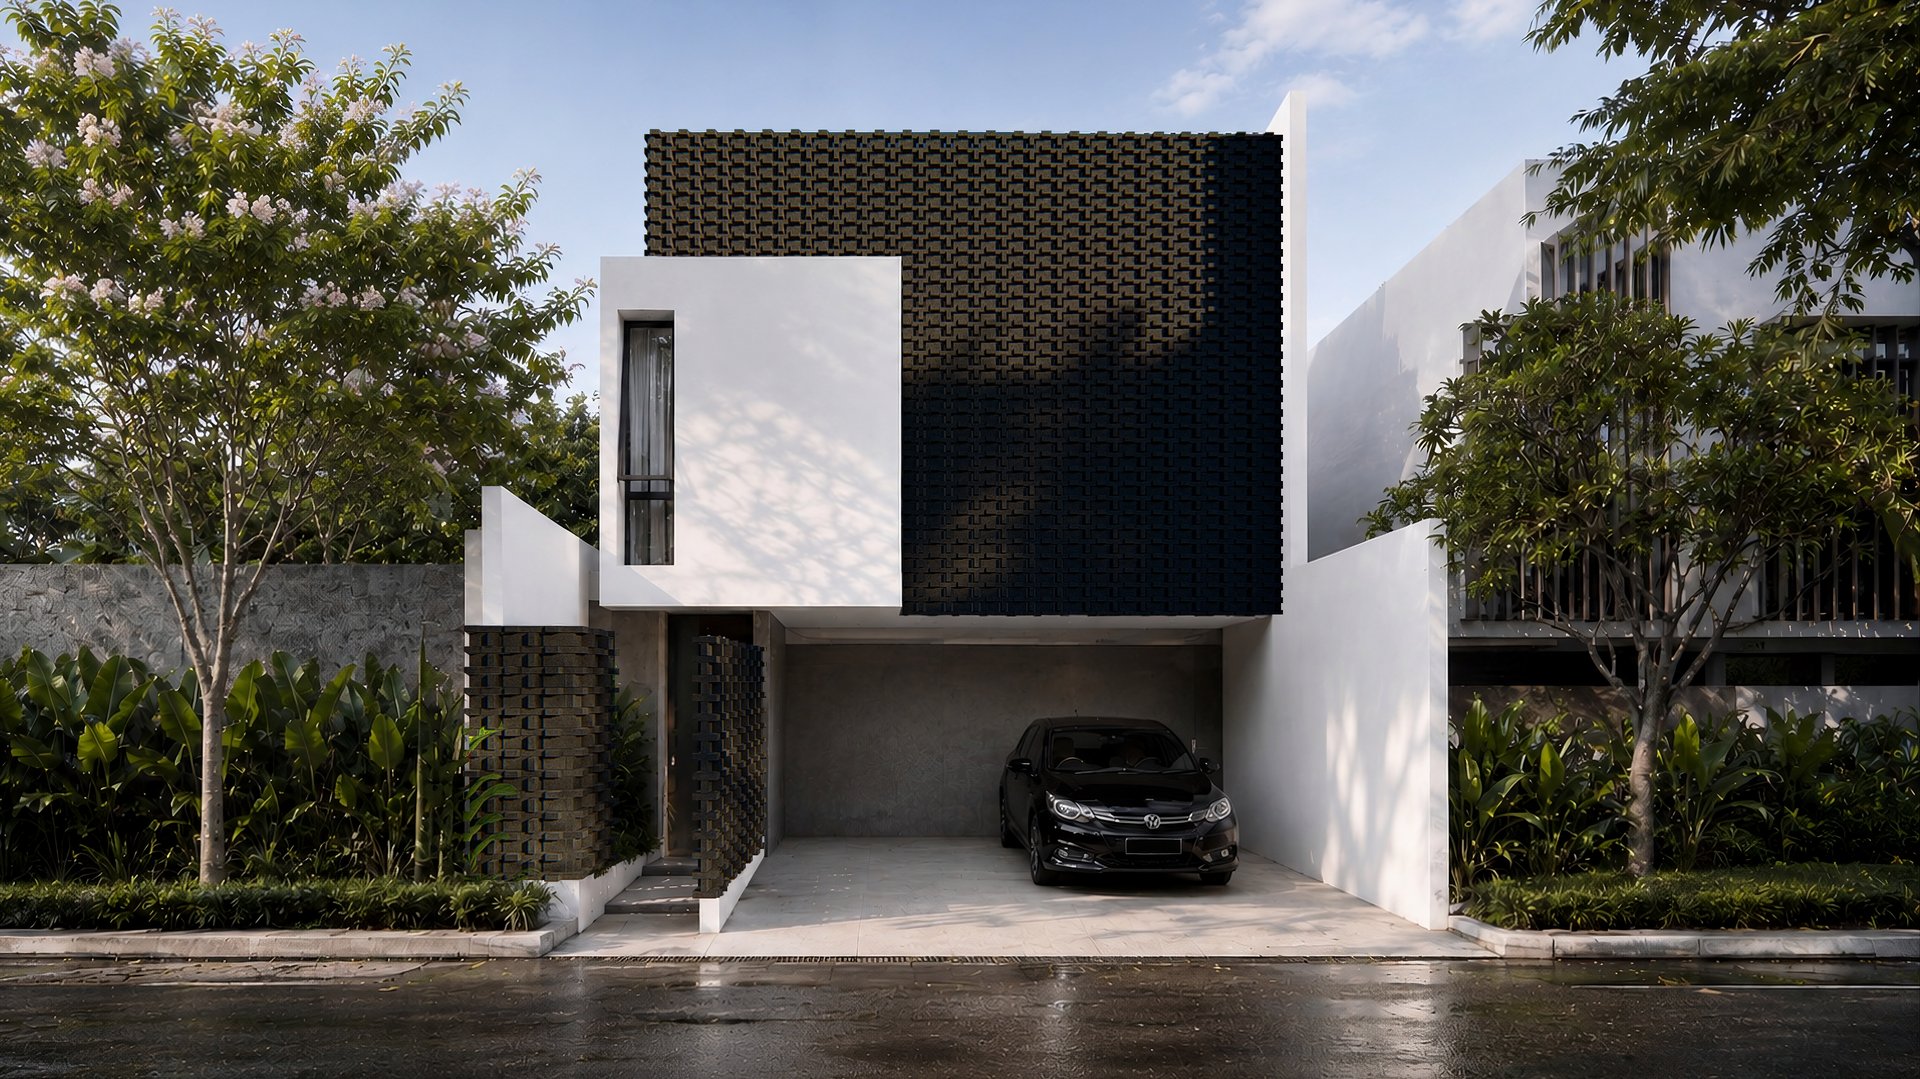
Proyek arsitektur dan interior terpilih yang saya kerjakan, dengan beragam konteks, tantangan, dan kebutuhan klien.
/ Blog
Beberapa tulisan berikut merangkum pertanyaan yang paling sering muncul ketika seseorang mempertimbangkan bekerja dengan arsitek.
/ Produk
Produk digital dan alat bantu kerja untuk arsitek dan mahasiswa arsitektur, mulai dari templates, worksheet, hingga referensi peralatan kerja.
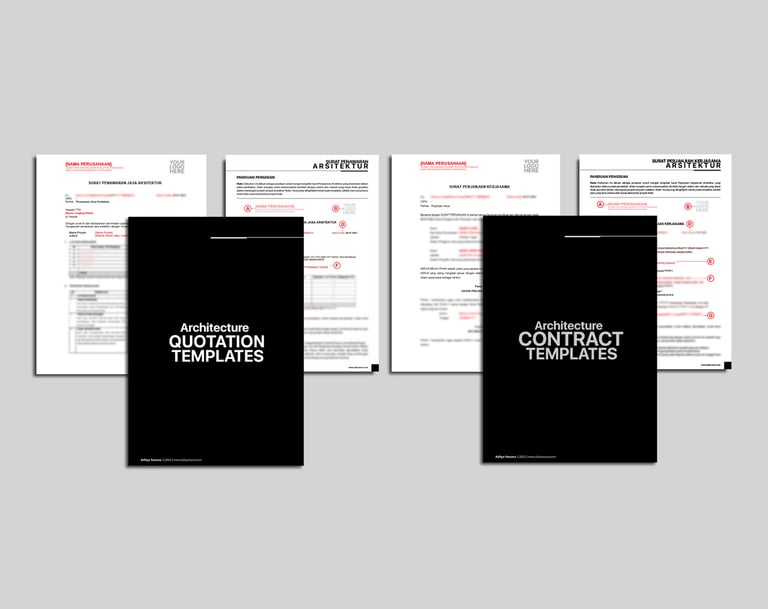
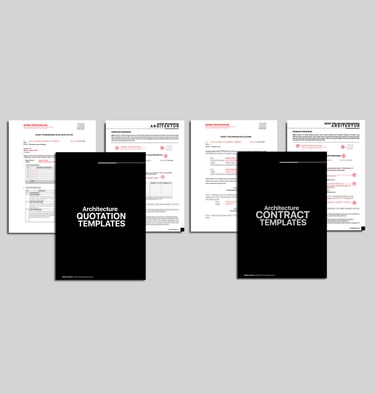
Templates Kontrak Arsitektur
Kesulitan membuat penawaran harga dan kontrak jasa arsitektur yang lengkap?
Dengan template ini, kamu tidak perlu repot lagi membuat dari nol, semua udah kami susun dengan komprehensif. Kamu tinggal edit sesuai kebutuhan proyekmu, langsung bisa digunakan.
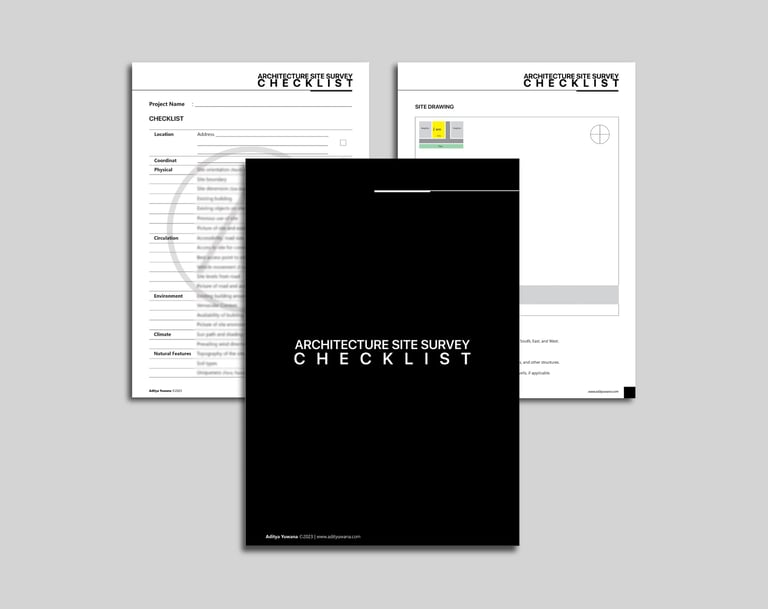
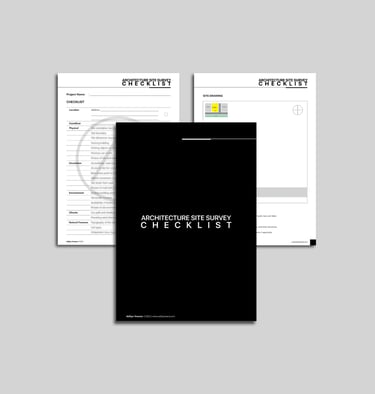
Sering kelupaan catat detail penting saat suvei? Dengan ceklist ini, nggak akan ada lagi data yang terlewat karena semua poin penting ada di dalamnya. Hemat waktu karena nggak perlu bikin form sendiri. Praktis, tinggal print atau isi langsung di device kamu.
Checklist Site Survei Arsitektur
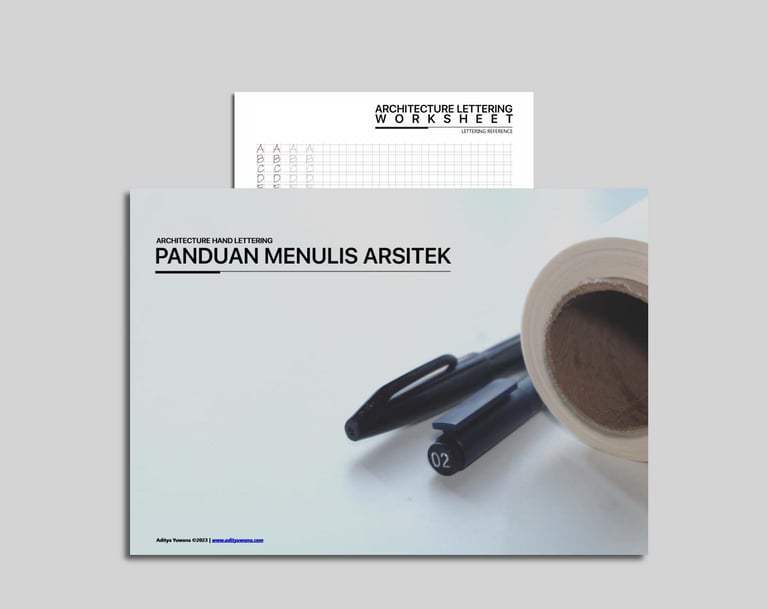
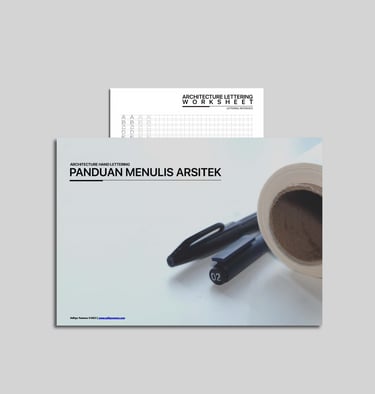
Worksheet Menulis ala Arsitek
Ingin melatih ketrampilan menulis ala arsitek? Worksheet ini adalah solusi praktis untuk membantu kamu meningkatkan keterampilan tulisan tangan sekaligus menghadirkan karakter khas yang lebih kuat dan rapi dalam setiap gambar arsitektur yang kamu buat.
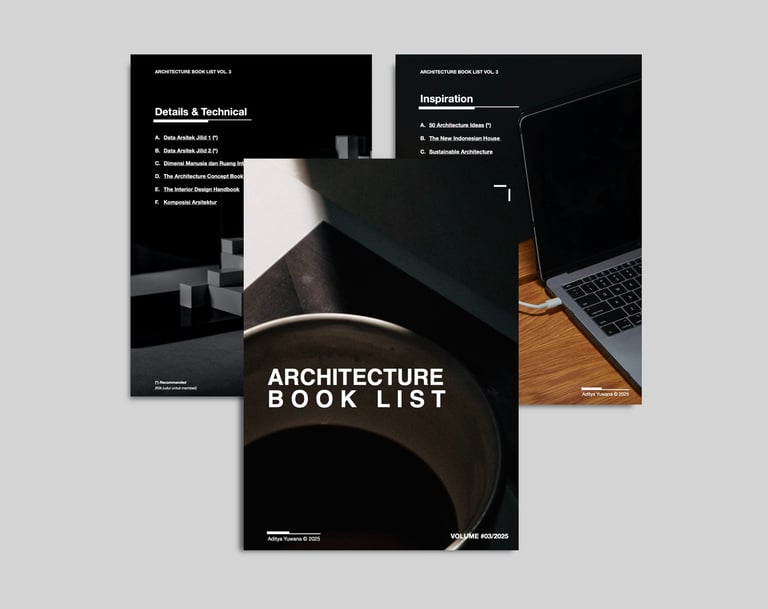
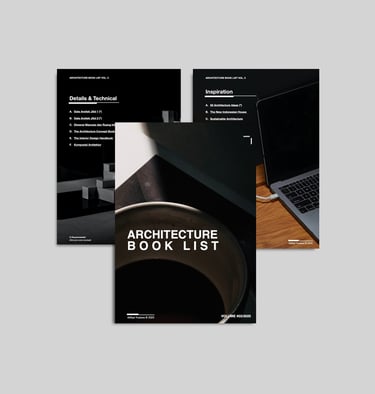
Bingung nyari buku arsitektur? Atau mau nambah koleksi buku arsitektur buat studiomu? Nggak perlu bingung lagi karena semuanya sudah kami susun disini. Buklet ini berisi daftar buku arsitektur yang sudah kami kurasi dan wajib dibaca buat anak arsi.
Booklet Daftar Buku Arsitektur